Mastering the art of cafetière coffee
Jun 19, 2023
Coffee is a daily ritual for many of us, a wake-up call for the morning, and a warm, comforting companion for the day's work.
The way we brew our coffee can significantly influence its taste and character. If you're looking for a simple, traditional method to make coffee at home, a cafetière, or French press, is an excellent choice.
If we're not in one of our espresso bars, a cafetière brew is our go-to method in the morning, and it's awesome!
Not sure how to make coffee in a cafetière? No problem! In this post, I'll walk you through our step-by-step process to make the perfect cup of cafetière coffee.
What you'll need before you start
- A cafetière (obviously 😊)
- Coarse ground coffee or, better still, a specific cafetière grind
- Hot water, just off the boil
- A spoon
- Your favourite coffee mug!
First, a bit of cafetière history!
Though the design of the cafetière is attributed to the Italian designers Attilio Calimani and Giulio Moneta in 1929, its origins are French - that's why it's also known as a French press.
The story goes that a Frenchman in the 1800s was boiling water for his coffee when he realised he had forgotten to add the coffee grounds. So he tossed them in, and they all floated to the top! To fix this grave situation, he used a metal screen fitted onto a stick to press the grounds down and, voila, the prototype for the French press was born! It sounds like that could be true...nice story anyway!
The cafetière is a popular choice of brewing method as it delivers a robust, full-bodied coffee: the brewing process allows the coffee oils to mix into the water to produce a stronger flavour profile than other brewing methods. It's also a sustainable choice because it doesn't require electricity or disposable filters or pods.
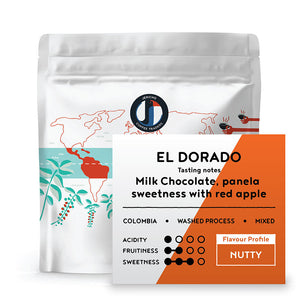
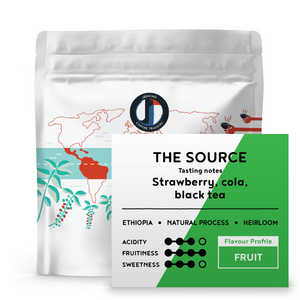
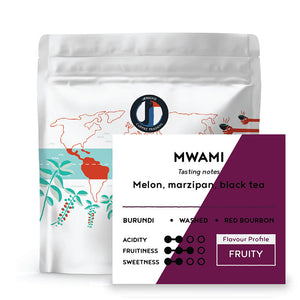
Step 1: Choose your Coffee
Any coffee can be used in a cafetière, though some coffees do lend themselves to this brewing method. Coffee originating from beans with a robust and complex flavour profile is a good choice. Dark roasts, which have a bold flavour, and medium roasts, which are well-balanced, typically work well too.
If you're unsure, we have a handy online coffee selector to guide you to the coffees we think are well suited for a cafetière.
The freshness of your coffee is also essential to a great brew and is often overlooked. Once roasted, beans and ground coffee will start to lose flavour. If you can, always buy coffee roasted in small batches (micro-roasting, which is what we do!) before shipping to customers - that way, it's not been sitting on the roaster's shelf for an extended period before you receive your coffee at home.
Step 2: Choose your Grind
A common mistake for cafetière novices is using a too-fine grind. Do that, and you'll end up with a sludgy texture and a bitter taste due to over-extraction. What a waste of your lovely coffee! Always use a coarser grind of coffee for the best results. If you don't grind your beans, buying a coffee specifically for cafetières is a great option (we offer a cafetière grind for all our speciality coffees).
Step 3: Measure Your Coffee
As a starting point, a good ratio is 7g coffee to every 100 ml water though you can adjust this ratio slightly to suit your tastes. You may think you will get a stronger brew if you use a lot of coffee. However, the coffee becomes over-extracted and bitter if the ratios are too far out.
Step 4: Preheat Your Cafetiere
Another common mistake is using a cold cafetière. Just preheat it by pouring in hot water, swirling it around a bit and then discard it. Preheating will maintain the coffee's temperature throughout the brewing process, which results in a much smoother taste.
Step 5: Add Your Coffee
Now add the measured amount of coffee to the cafetière. Make sure the coffee is distributed evenly at the bottom.
Step 6: Add your hot water (but not boiling!)
Ideally, the water should be around 94-96°C. You can achieve this by waiting two minutes after boiling the water before pouring it into the cafetière over the ground coffee. NEVER add boiling water: that will over-extract the coffee and make it taste bitter.
Step 7: Stir and Wait
Give the mixture a good stir with a spoon which will ensure all the coffee grounds are saturated. Then, place the lid on your cafetière and wait. The magic number here is about two minutes. This duration allows the coffee to steep and extract all the flavours from the grounds.
Step 8: Plunge and Pour
After the 2-minute wait, slowly and steadily plunge the press down. We prefer to plunge only halfway so the coffee grounds don't get stirred up. Once plunged, pour the coffee into your favourite mug to prevent over-extraction.
Step 9: Savor and enjoy your coffee!
Now comes the best part. Take a moment to savour the aroma of your freshly brewed coffee! We find that the coffee will taste different as it cools. If it's too hot, you won't get many tasting notes, but if it's too cold, it'll go the other way!
10: And Finally...
Brewing coffee with a cafetière is an art that demands patience, but the result is undoubtedly worth the effort. This method brings out the full spectrum of the coffee's taste and creates a unique, intimate coffee experience that a machine cannot replicate.
Remember, practice makes perfect. If your first cup of cafetière coffee isn't to your liking, tweak the coffee-to-water ratio ( 7g/100ml) or the brewing time (2 mins) to suit your tastes. Keep experimenting until you find your perfect brew. So, take your time, be patient, and enjoy the process. Happy brewing!